Bootstrap Radio Form
Intro
In some cases the small aspects come to be simply the most necessary because the complete picture is in reality a all including a lot of tiny components perfected and collected for display and view as a well-oiled bright machine. These kinds of strong phrases might probably seem a bit too much when it goes to form controls however if you just think about it for a little there is definitely just a single component making it possible for the website visitor to grab one among a several accessible alternatives. And so if you are actually featuring certain forms by having this type of options controls over your numerous web sites does this guarantee they will all look identical?And more importantly-- would you go for that?
Luckily for us the current edition of the absolute most favored mobile friendly framework - Bootstrap 4 comes entirely packed with a brilliant new solution to the responsive behavior of the Bootstrap Radio Toggle controls and just what is bright new for this edition-- the so called custom made form commands-- a combination of predefined appearances you can certainly simply just take and apply if you want to add the so wanted in today times variety in the visional presentations of quite uninteresting form features. So let's take a look the way the radio buttons are suggested to be described and styled in Bootstrap 4.
The best way to apply the Bootstrap radio button:
To set up a radio switch we primarily really need a <div> element to cover it inside with the .form-check or .form-check-inline employed. The first class will attach the Bootstrap Radio Set a block appearance and the next will adjust the element inline along with ultimately a several more others like it. These are truly new classes for Bootstrap 4-- in the previous editions they used to be specified as .radio and .radio-inline. If you prefer the radio button to be on webpage however to be disabled for clicking on-- ensure that you have certainly likewise provided the .disabled class here.
Within the .form-check element we need to primarily include a <label> along with the .form-check-label class selected and inside it an <input> plus the .form-check-input class and a few attributes added like type = “radio”, name = “ ~ same name for all the options ~ ” if you feature a few radio buttons characterizing a few methods a user have to pick up from they need to come with the equal name however other special id = “ ~ unique ID ~ “ attribute and a value=” ~some value here ~ ” attribute. Lastly assuming that you're targeting to disable the control -- likewise provide the disabled attribute to the <input> element.
This is likewise the place to specify if you wish the radio control to at first load like checked when the page gets loaded. Supposing that this is actually what you are actually looking for-- as opposed to disabled provide the checked attribute to the <input>. In the case that you happen to intentionally or by mistake add a few radio buttons together with the checked attribute-- the last one read will definitely be additionally the one displaying as checked on page load.
Checkbox and even Bootstrap Radio Css some examples
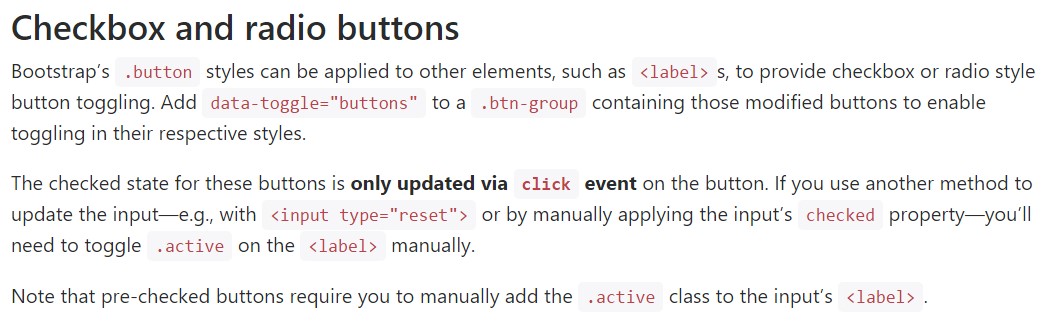
The checked state for these buttons is only updated via click event on the button.
Take note that pre-checked buttons require you to manually add the .active class to the input's <label>.
Checkbox

<div class="btn-group" data-toggle="buttons">
  <label class="btn btn-primary active">
    <input type="checkbox" checked autocomplete="off"> Checkbox 1 (pre-checked)
  </label>
  <label class="btn btn-primary">
    <input type="checkbox" autocomplete="off"> Checkbox 2
  </label>
  <label class="btn btn-primary">
    <input type="checkbox" autocomplete="off"> Checkbox 3
  </label>
</div>
Radio

<div class="btn-group" data-toggle="buttons">
  <label class="btn btn-primary active">
    <input type="radio" name="options" id="option1" autocomplete="off" checked> Radio 1 (preselected)
  </label>
  <label class="btn btn-primary">
    <input type="radio" name="options" id="option2" autocomplete="off"> Radio 2
  </label>
  <label class="btn btn-primary">
    <input type="radio" name="options" id="option3" autocomplete="off"> Radio 3
  </label>
</div>
Radio button option
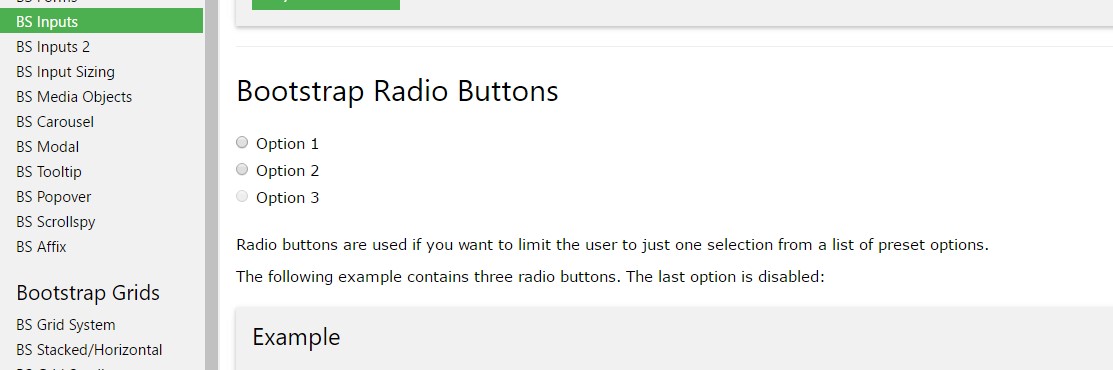
As soon as we want the user to go for just one of a set of opportunities, we can surely make use of input features of the radio form.
Just just one can surely be chosen in the event that there is more than a single component of this particular option by having the same value inside the name attribute.

<div class="row">
  <div class="col-lg-6">
    <div class="input-group">
      <span class="input-group-addon">
        <input type="checkbox" aria-label="Checkbox for following text input">
      </span>
      <input type="text" class="form-control" aria-label="Text input with checkbox">
    </div>
  </div>
  <div class="col-lg-6">
    <div class="input-group">
      <span class="input-group-addon">
        <input type="radio" aria-label="Radio button for following text input">
      </span>
      <input type="text" class="form-control" aria-label="Text input with radio button">
    </div>
  </div>
</div>
Conclusions
Essentially this is the approach the default radio buttons get determined and carry on along in Bootstrap 4-- right now everything you need are several possibilities for the visitors to choose from.
Review a number of on-line video guide regarding Bootstrap Radio Button:
Connected topics:
Bootstrap buttons main records
Bootstrap Radio button - short training
Checkbox radio buttons break entire toolbar styling
